
Hiya friends! It's Day 10 of our 12 Days of Christmas Tags! We have just two more days left after this. Oh my!
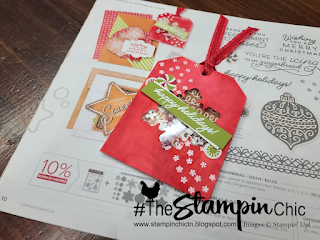
I have had my eye on this tag for a long time now. Since the Holiday Catalog came to my door, if I'm being honest! It's so pretty! I've waited for just the right time to share it with you and I think this is it. Today is not only Day 10, but it's also CASE-IT Wednesday. So, we're going to be CASE-ing that gorgeous Gingerbread and Peppermint tag on page 10 of the Holiday Catalog! YAYAYAYAYA!!! I just love it.

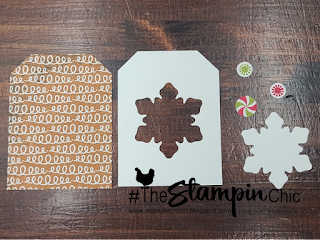
To start, I cut a piece of watercolor paper and a piece of the Gingerbread and Peppermint Designer Series Paper to 3" x 4". Then, I used my scissors to cut the top corners off. I lined both pieces of paper together and cut, so that they'd be the same.


Save that snowflake! I had a bit of fun playing with it afterwards. :-D I'll share my project soon!
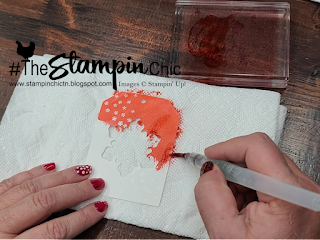
Once I got my snowflakes embossed (white on white), I got an aqua painter and some Real Red ink. I stamped my acrylic block into the pad, but you could also just squeeze the pad with the lid closed so that it puts a little ink in the lid. Then, add a few drops of water to whichever method you're using. You want it to be pretty runny. From here, you'll generously slather the color all over the tag. Just like magic, your snowflakes will appear!
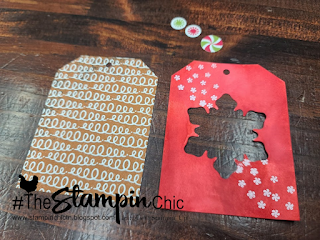
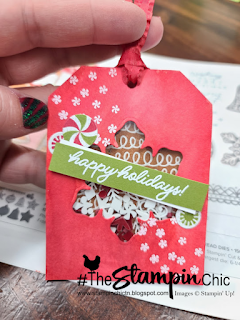
Once the hole was covered, I used Foam Adhesive Strips to create a dam to hold the sprinkles in. You want this to be close to the window opening, but not so close as to see the foam strips through the front. I dumped a bit of the Gingerbread and Peppermint Acrylic Shapes on the DSP tag and then lined the red tag over top and attached.
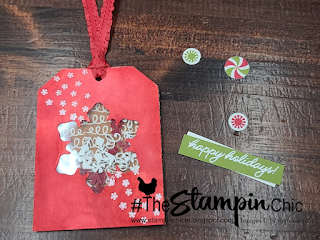
Then, I used a handheld hole punch to make a hole through both layers, and tied a length of Real Red Ruffled Ribbon on. 8-10" is a pretty reasonable length.
Then, I used a handheld hole punch to make a hole through both layers, and tied a length of Real Red Ruffled Ribbon on. 8-10" is a pretty reasonable length.
Do you just LOVE the new In-Colors and want to have them all? Join my In-Color Club and get a fantastic selection of products featuring the new In-Colors, at a price that doesn't make your pocketbook scream! Now you CAN get all the things!! PLUS, get a set of the new In-Color Jewels FOR FREE!! To get all the details and to sign up, click the image below. :-)

To receive the 2021-2022 Annual Catalog (Idea Book), click the image here to go to the request form!

Until Next Time,
Happy Crafting!
#TheStampinChic
Happy Crafting!
#TheStampinChic
If you would like to purchase any of the supplies I used on today's project, simply click an image below to be taken directly to my website. Enjoy!
")
 Designer Series Paper")


 Mini Ruffled Ribbon")


")


No comments:
Post a Comment