
Hello my crafty friends! I hope you're doing well this evening. Today, we're participating in the Paper Pumpkin Possibilities Blog Hop, featuring the November kit "Filled With Joy". And what a beautiful kit it is too!

I'm so glad to be participating in the hop this month. I can't wait to see what everyone else creates for you!


Are you ready to get into my alternative project? I know I am. Let's do it!
Generally, when a kit is a 3D type project, I like to create a card for one of my first alternatives. I really like to show people just how incredibly versatile Paper Pumpkin kits are. They're terrific!

I absolutely LOOOOOOVE the retro 50s vibe of the ornament die cuts in this kit. Oh my goodness! I wish we could buy them by the sheet!! Beautiful! So, of course, I used them as the focus of my card.
It was so exciting to bring those colors into the card design! I started out with a Pretty In Pink Card Base measuring 8 1/2" x 5 1/2" and scored at 4 1/4". I cut a piece of Real Red Cardstock to 5 1/4" x 4" and then stamped the sparkle cluster around the outer edges of it before attaching it to the card front. Next, I embossed a 5" x 3 1/2" piece of Pool Party Cardstock with the Forever Plaid 3D embossing folder. This has quickly become one of my all time favorite patterns! Its awesome!
Since I'e already been creating Christmas cards for weeks now, Gold Foil is in short supply in the Stampin' Studio. What's a girl to do?? Well, it's a good thing I keep ALL my scraps from specialty papers! lol. The photo below shows how I was able to get that gold layered look I wanted while only using tiny little scraps. Sometimes it really does pay to save little bits!


After gluing the layers of cardstock onto the base, I attached the ornaments with Dimensionals. Then, I finished off the card with some of those illusive Peppermint embellishments and matching Red & White Twine. I love how it turned out!

I hope you enjoyed my alternative project! I really enjoyed creating it for you. Be sure to hop around to each of the blogs below to get a whole wealth of inspiration from these incredibly talented ladies!
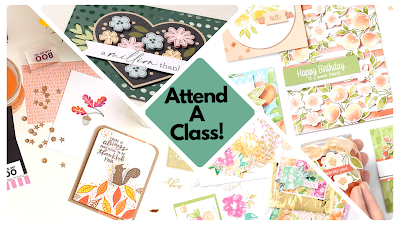
Check out my upcoming classes (and classes TO GO), over on my
Facebook Calendar of Events. Registration details can be found under each class description. Join us for some crafty fun!
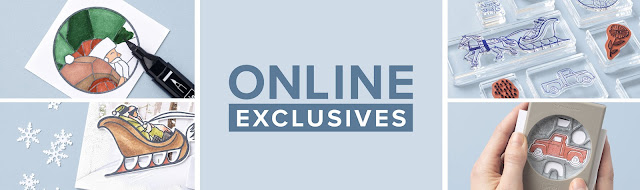
What you see in the catalog isn't all the amazing products Stampin' Up offers! Click the image below to be taken to our Online Exclusive collection. There's even more fun awaiting you there!
Until Next Time,
Happy Crafting!
#TheStampinChic
Happy Crafting!
#TheStampinChic
If you would like to purchase any of the supplies I used on today's project, simply click an image below to be taken directly to my website. Enjoy!


