Hello my crafty friends!! How are you all today? I have a very special project to share with you! This beautiful little birdhouse gift box was created during last week's "THINK TANK THURSDAY" live.
What is Think Tank Thursday, you ask? I'm so glad you did! Lemme tell you about it. Every Thursday evening at 7pm eastern time I go LIVE on Facebook and Youtube to design a project on the fly with viewers as my co-pilot! Yes, friends who are watching get to help decide the elements of the project from colors to images to sentiments and more. That's why this box is so special! It was created by me and some of my fabulous viewers! We have a great time, just enoying the process and it's really fun.
Okie doke, so here's how it goes.......
First off, you'll need to cut and score TWO pieces of cardstock acccording to the image here:
First off, you'll need to cut and score TWO pieces of cardstock acccording to the image here:

Notice that I mentioned the need to use a scoreboard shim to score the lid. This is because the shim will bump the score just a scoche (yes that's a word), so that when assembled the two sections will slide together PERFECTLY!!
I've got a video that shows how to make these boxes easily. It shows the shim and how to use it also. You can check it out here:
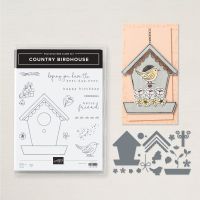
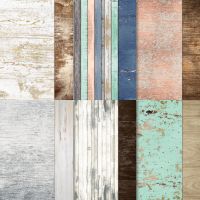
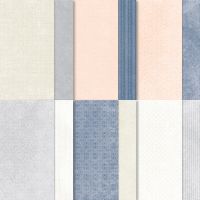
So now that you've got the base made, let's move on to the decorations! I used the Country Birdhouse Stamp & Die Bundle, along with the Country Woods and Country Lace Designer Series Papers.
Cut these pieces from Country LACE:
* 2 7/8" x 3 5/8" for top
* (cut 2) 3 5/8" x 7/8" for sides
* (cut 2) 2 7/8" x 7/8" for ends
Cut these pieces from Country LACE:
* 2 7/8" x 3 5/8" for top
* (cut 2) 3 5/8" x 7/8" for sides
* (cut 2) 2 7/8" x 7/8" for ends
Attach these pieces to their corresponding parts on the box lid.
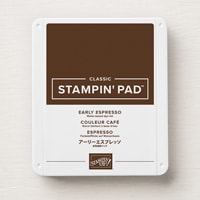
Using Country Woods DSP, Stamp the Birdhouse in Early Espresso ink and die cut.
Take the little roof and eaves dies from the bundle and cut the scalloped trim from Petal Pink Cardstock, the narrow eave from Basic Beige and the roof piece from Misty Moonlight.
I glued the beige eave directly to the pink scalloped piece, and glued that directly to the birdhouse. I attached the roof with Stampin' Dimensionals.
Then, I cut a piece of Early Espresso Cardstock with the birdhouse landing die. One of my viewers had a terrific idea to crumple it up for texture. It was brilliant! So you can see, that's what we did here. Look at how terrific that is! I smoothed it out just enough to put some Dimensionals behind it and attach it to the birdhouse.
That's my most FAVORITE thing about Think Tank Thursdays!!! Yes, we're "hanging out" for quite a bit longer than a typical LIVE tutorial session. But that's because it's NOT a tutorial session. We are quite literally a "THINK TANK" for designing a project together. It's so much fun to be able to interact with viewers, and see their inputs and ideas. And, together, we create beautiful masterpieces like this one! LOVE LOVE LOVE!!!!
That's my most FAVORITE thing about Think Tank Thursdays!!! Yes, we're "hanging out" for quite a bit longer than a typical LIVE tutorial session. But that's because it's NOT a tutorial session. We are quite literally a "THINK TANK" for designing a project together. It's so much fun to be able to interact with viewers, and see their inputs and ideas. And, together, we create beautiful masterpieces like this one! LOVE LOVE LOVE!!!!
From the photos you can see that I used Petal Pink, Misty Moonlight, and Wild Wheat Cardstocks to create the flowers and leaves. All of these dies are included in the Country Birdhouse Bundle! Isn't that fabulous?
I attached the flowers by gluing the farthest ones directly and then popping up the more foreward ones with one and two layers of Dimensionals. I tucked the leaves in with a touch of Multipurpose Liquid Glue.
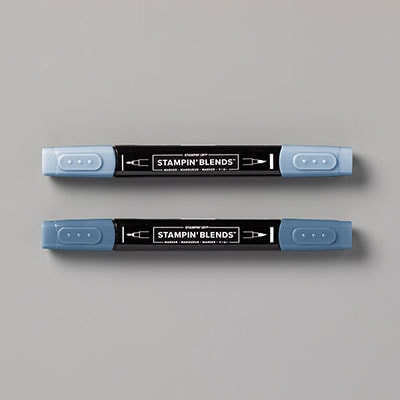
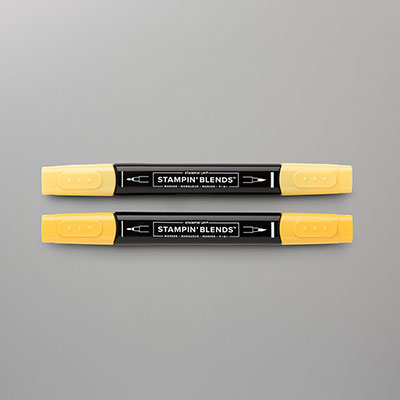
That cute little bird is colored with Misty Moonlight and Daffodil Delight Stampin' Blends Markers. Then, die cut with one of the dies from the bundle. :-)
That cute little bird is colored with Misty Moonlight and Daffodil Delight Stampin' Blends Markers. Then, die cut with one of the dies from the bundle. :-)
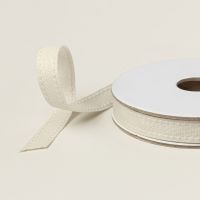
I wrapped a good length of the Beige Ribbon around the body of the box and tied it into a bow. Then, I attached the birdhouse with Dimensionals, sandwiching the ribbon so it wouldn't slide off.
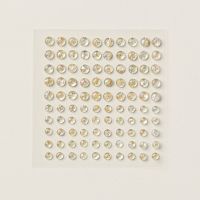
The final touch is adding a few Iridescent Foil Gems to the center of the flowers.
OOOOOOOH so pretty!!!!
Well, there you go my friends! A super ADORABLE gift box that anyone would be thrilled to receive! I hope you've enjoyed my little tutorial and will give this project a go. :-D

Check out my upcoming classes (and classes TO GO), over on my
Facebook Calendar of Events. Registration details can be found under each class description. Join us for some crafty fun!
What you see in the catalog isn't all the amazing products Stampin' Up offers! Click the image below to be taken to our Online Exclusive collection. There's even more fun awaiting you there!
Until Next Time,
Happy Crafting!
#TheStampinChic
Happy Crafting!
#TheStampinChic
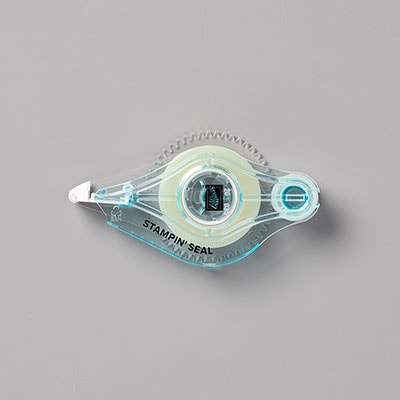
If you would like to purchase any of the supplies I used on today's project, simply click an image below to be taken directly to my website. Enjoy!