Showing posts with label Thank you cards. Show all posts

Thursday, January 12, 2023

Stampin' Dreams - GRATITUTE - Blog Hop


Good morning my crafty friends! I'm so happy to share a little bit of "THANKS" with you today.  The Stampin' Dreams team is bringing you a sweet blog hop that's all about Gratitude.  What a lovely theme!

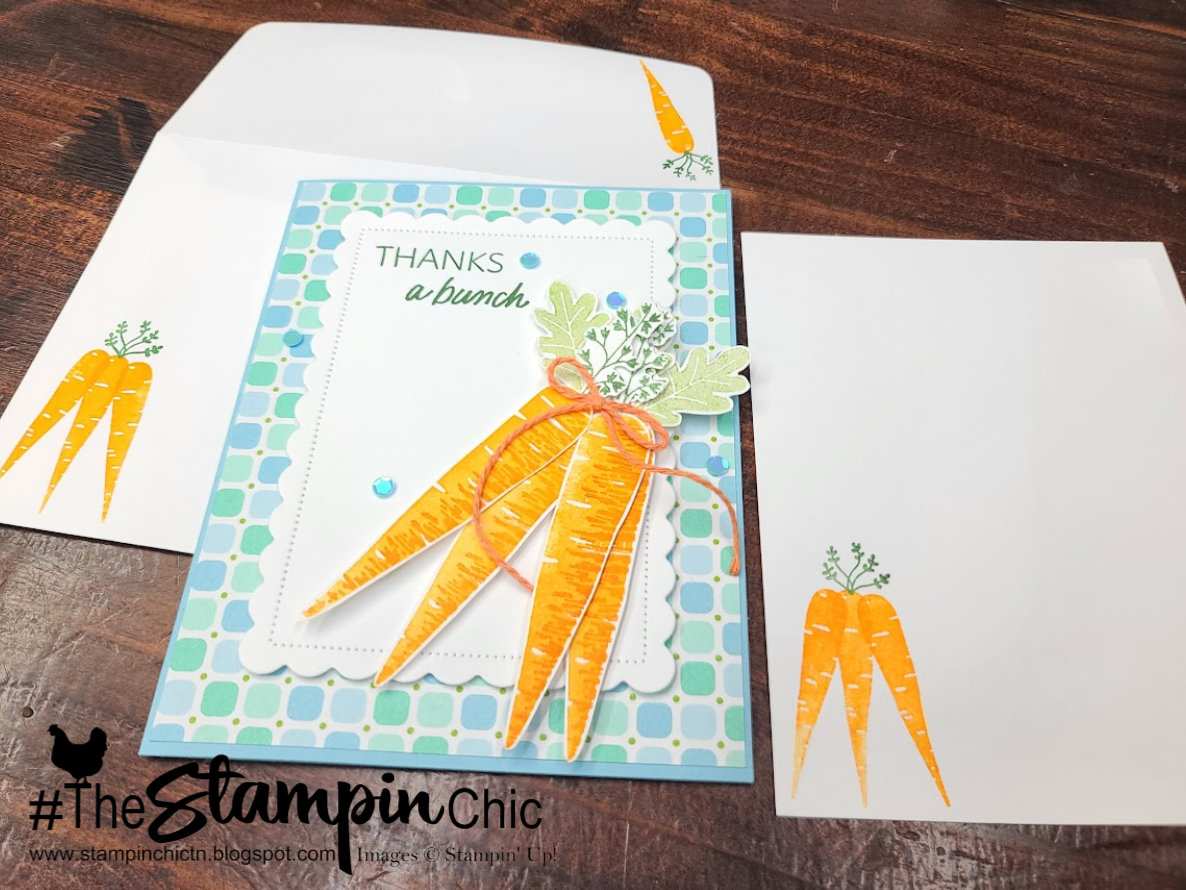
I chose the brand new "Thanks A Bunch" stamp set from the 2023 Spring Sale-A-Bration brochure that released just the other day. Yes, that's right! This stamp set is FREE with a $50 purchase! Woot Woot!!! I've also used some of the FREE Dandy Designs Designer Series Paper from the same brochure. This one is FREE with a $100 purchase, but it is a HUGE package of DSP with a whopping 48 sheets included!


I started out with an 8 1/2" x 5 1/2" piece of Balmy Blue Cardstock (scored at 4 1/4"). Then, layered on a 4 1/8" x 5 3/8" piece of the DSP.  

From there I cut one of the Scalloped Contour Dies out of Basic White Cardstock to get the scalloped panel behind the carrots. This is the 2nd largest of the framed dies. 

On a scrap of Basic White Cardstock, I stamped the carrots in Mango Melody and their top layer in Pumpkin Pie, the ruffled sprigs in Garden Green (stamped off one time), and the leaves in Pear Pizzazz (stamped off one time).  Get your scissors out and start fussy cutting, baby! There are no dies with this set, but they're fairly easy to fussy cut.  I didn't get toooooo detailed with the sprigs, but you certainly could if you like that sort of thing.  They looked fine otherwise. 


I stamped my Thanks a Bunch sentiment in Garden Green, then popped the scalloped layer on Stampin' Dimensionals and assembled my carrots with their tops and leaves and attached them to each other with Glue Dots to give just a hint of dimension between.  Then, I attached them to the card front with Dimensionals as well. 

A little bit of the Pumpkin Pie twine from the new 3 Twine Combo Pack matched beautifully and was attached with a single Glue Dot. 

To finish off my card, I used a few of the smaller blue Pastel Adhesive-Backed Sequins for a little sparkly embellishment.  And remember: "No Naked Insides, and No Naked Envelopes"! Don't forget to dress them up a bit. You can see mine in the photo above. :-D


I hope you enjoyed my GRATITUDE project! Be sure to hop around to see lots more inspiration!  

Check out my upcoming classes (and classes TO GO), over on my
Facebook Calendar of Events. Registration details can be found under each class description.  Join us for some crafty fun!

To receive the 2023 Spring Mini Catalog (Idea Book),
click the image here to go to the request form!


Until Next Time,
Happy Crafting!
#TheStampinChic

If you would like to purchase any of the supplies I used on today's project, simply click an image below to be taken directly to my website. Enjoy!

Product List

Tuesday, December 13, 2022

ICS Blog Hop - Thank You!


Well, hello again my crafty friends!! Thanks for stopping by! If you're new here from the ICS Blog Hop, welcome! 


This month's hop theme is "THANK YOU".  What a wonderful reason to make a card for someone! 

I've been doing a 12 Days of Christmas Tags series since the first of December and we are on Day 9 today. I just posted today's tag and it coordinates perfectly with my card tonight! LOVE LOVE LOVE matching projects! Be sure to go back and take a look if you missed it.  Actually, I made the tag and then decided I'd like to share how to turn a tag into a beautiful card! Exciting! 

On the Left, my Thank You card. On the right, Day 9 Christmas Tag

The details of how to make the tag were posted right before this post.  You can find it HERE. I took the gorgeous tag and turned it into a card, simply by adding a card base and stamping the inside! 

One thing I always say is "NO NAKED INSIDES, AND NO NAKED ENVELOPES".  Why spend all the time and energy creating a beautiful card, only to send it off in a plain ol' plain envelope?  There are so many ways you can spruce up an envelope to make it beautiful too.  One thing I like to do is decorate the inside of a card and the envelope in the same or similar fashion.  This ties the envelope back to the card for a coordinated look.  In this case, I stamped the snowman and colored him to match the front of the card. 


Once I had the inside of my card base stamped, I needed only to attach my Day 9 tag to the front side. I chose to attach it with Stampin' Dimensionals because I wanted a bit of depth between the card base and the shaker element of the tag. Fortunately, the tag is perfectly sized to cover the whole card front. 

Since this is now a card, and not a tag, I needed a different way to use the ribbons.  I shredded each of the White Crinkle and Black/White Gingham ribbons lengthwise up the middle and then tied them into a bow. This makes the bow have a lot more substance and texture. And it looks cute too! :-D I tied the silver trim into a bow around the black & white bows and then attached it to the corner of the card with a Mini Glue Dot. I love glue dots for attaching bows to projects. They work like a dream!


And now you can see my completed card! This was a super easy transition from the Day 9 tag to a beautiful wintery themed Thank You card.  Oh what fun! 


I hope you enjoyed my card as much as I enjoyed making it for you! I have a feeling the recipient is going to love it! 

Be sure to click the NEXT button here to head over to Miss Janey's blog. You're sure to find something fantastic over there! Hop all the way around so that you don't miss any of our grateful inspiration!


Thanks so much for stopping by (again) this evening! If you'd like to see the earlier days of The 12 Days of Christmas Tags, simply backtrack through my blog to see the others.  I will post a new day tag each weekday evening at 8pm eastern.  Come by again tomorrow night for Day 10! 


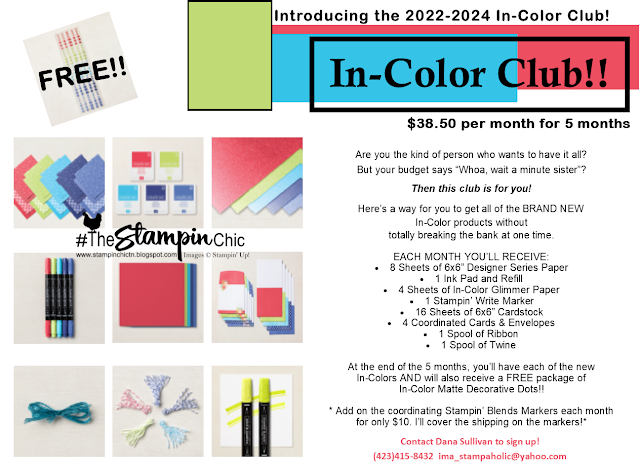
Have you seen the new GORGEOUS 2022-2024 In-Colors?  Join my In-Color Club and get a fantastic selection of products featuring the new In-Colors, at a price that doesn't make your pocketbook scream! Now you CAN get all the things!! PLUS, get a set of the new In-Color Matte Dots FOR FREE!!  To sign up, click the image below. :-) 


To receive the upcoming 2022-2023 Annual Catalog (Idea Book),
click the image here to go to the request form!


Until Next Time,
Happy Crafting!
#TheStampinChic

If you would like to purchase any of the supplies I used on today's project, simply click an image below to be taken directly to my website. Enjoy!

Product List