


* 8 1/2" x 5 1/2" Orchid Oasis Cardstock (scored at 4 1/4") for base
* 4 1/8" x 5 3/8" Wonderful World DSP for front layer
* 2 3/4" x 4" Basic White Cardstock (die cut with middle scalloped frame from the Scalloped Contours Dies)
* Fussy cut Iris flower cluster from DSP sheet
* 3" x 1 1/2" Rich Razzleberry Cardstock die cut with label from Nature's Prints
* 3" x 1 1/2" Basic White Cardstock die cut with label from Nature's Prints, then edge trimmed off
* 4" x 5 1/4" Basic White Cardstock for inside panel
I began by stamping the iris stamp twice in each of the Rich Razzleberry and Orchid Oasis colors. I wanted to make my irises the same colors as the fussy cut image. As you can see from the photo below, I stamped the whole image on my envelope and inside panel in Mossy Meadow (to get the greenery). Then, I fussy cut around the whole Iris head on the Orchid ones, and the top middle section of the Razzleberry ones. I pieced these two layers over top of the Mossy flower to cover them up.
This creates a beautiful tri-color flower! Quick and easy!

After I trimmed around the white label, I was able to mat the two label pieces together with Stampin' Dimensionals. I then attached the fussy cut flower, and the label piece to the scalloped rectangle with dimensionals.


Don't go anywhere just yet! Be sure to click the "NEXT" button below to head over to Miss Judi's blog. More fun awaits you there!

I hope you enjoyed today's project. I really enjoyed putting it together for you! Thanks so much for stopping by!
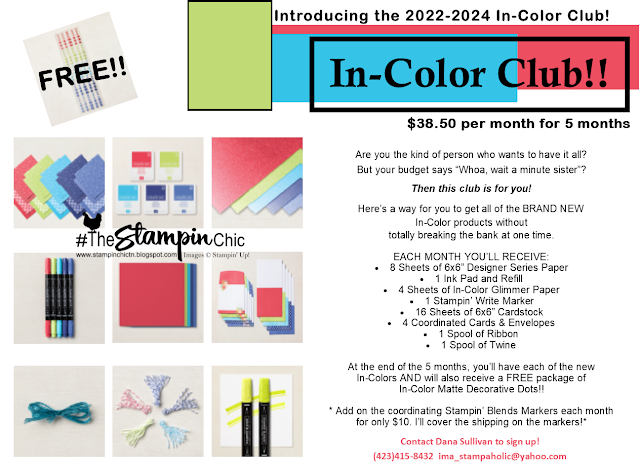
Have you seen the new GORGEOUS 2022-2024 In-Colors? Join my In-Color Club and get a fantastic selection of products featuring the new In-Colors, at a price that doesn't make your pocketbook scream! Now you CAN get all the things!! PLUS, get a set of the new In-Color Matte Dots FOR FREE!! To sign up, click the image below. :-)
To receive the upcoming 2022-2023 Annual Catalog (Idea Book),
click the image here to go to the request form!

Until Next Time,
Happy Crafting!
#TheStampinChic
Happy Crafting!
#TheStampinChic
If you would like to purchase any of the supplies I used on today's project, simply click an image below to be taken directly to my website. Enjoy!
")
")


Dana, I love your card design. The flowers popped up on the basic white are fabulous! Your crd has so much dimension letting the paper do the work for you!.
ReplyDeleteDana this dsp is so pretty; I'm thinking I need to get it in August!
ReplyDeleteBeautiful card and love the envelope!
ReplyDeleteBeautiful card! The flowers are gorgeous and I like your tri-colored flower!
ReplyDeleteThis is so pretty! Love how you layered the flowers colors!
ReplyDeleteWow such pretty flowers!
ReplyDelete