Good morning my crafty friends! How are you this glorious Monday morning? It's time again for the Stampers Showcase Blog Hop!!! YAYA!! This month, we're doing a card sketch challenge. Each of the blogs along today's hop will use the following card layout to create their own beautiful masterpiece. This is going to be terrific, so be sure to hop around to all the blogs!
The great thing about card sketches is that you can use as much or as little of them for inspiration on your own project. That's what is so fabulous about using one for our blog hop. You'll be able to see how each person interprets the challenge.
My take on the sketch is a longing for cooler weather. I don't want it cold necessarily, but I'm ready for a cool down from the 100 degree temperatures we've been seeing. HOT HOT HOT!!!
Here's what you'll need to complete my card:
* 8 1/2" x 5 1/2" Soft Suede Card Base (Scored at 4 1/4")
* 4" x 5 1/4" Basic White Cardstock layer (for inside panel)
* 4" x 5 1/4" Evening Evergreen Cardstock layer (embossed with the Quatrefoil Tile embossing folder)
* 4" x 3 1/4" Rings of Love Designer Series Paper (DSP)
* 1 7/8" x 4" Crushed Curry Cardstock layer
* 1 3/8" x 5" Poppy Parade Cardstock layer
* (4) 1/2" x 1" Poppy Parade Cardstock pieces
* 2 7/8" x 2 7/8" Soft Suede Cardstock (cut with 2nd largest Scalloped Circle Die)
* 2 3/4" x 2 3/4" Basic White Cardstock (cut with 2nd largest Stylish Shapes Circle Die)
* 1 3/8" x 1 3/8" Basic White Cardstock (cut with 2nd smallest Stylish Shapes Circle Die)
* 8-10" length of Linen Thread for bow
On all of the Poppy Parade strips, I dovetail cut one end to make banners. Each of the four little 1" strips were attached to the backside of the DSP panel. Then, the DSP panel was attached about midway down the Quatrefoil embossed layer. The whole panel goes directly onto the card front.
As you can see from the photo, the Crushed Curry layer and the longer Poppy Parade banner are layered directly on top of the panels.
I used Sponge Daubers and inks (Soft Suede, Poppy Parade, Crushed Curry) to create the fall looking leaves, by applying ink randomly around the stamp and then stamping it onto the white circle. The leaf circle is attached directly to the Soft Suede scalloped circle and then popped up with dimensionals onto the card front. The little Hello circle has two layers of dimensionals to pop it up just a bit higher. A Mini Glue dot holds the Linen Thread bow.
The card is finished with a few of the Rustic Metallic dots. I just love those things! So pretty!
The card is finished with a few of the Rustic Metallic dots. I just love those things! So pretty!
I hope you enjoyed my take on this fabulous card sketch! Don't forget to visit the other blogs on the list below, to get even more awesome ideas!
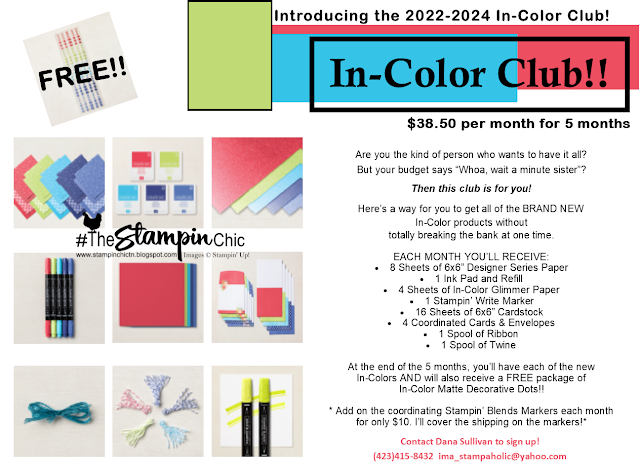
Have you seen the new GORGEOUS 2022-2024 In-Colors? Join my In-Color Club and get a fantastic selection of products featuring the new In-Colors, at a price that doesn't make your pocketbook scream! Now you CAN get all the things!! PLUS, get a set of the new In-Color Matte Dots FOR FREE!! To sign up, click the image below. :-)
To receive the upcoming 2022-2023 Annual Catalog (Idea Book),
click the image here to go to the request form!
Until Next Time,
Happy Crafting!
#TheStampinChic
Happy Crafting!
#TheStampinChic
If you would like to purchase any of the supplies I used on today's project, simply click an image below to be taken directly to my website. Enjoy!


Cute card Dana, love the soft seedlings stamp set x
ReplyDeleteLovely card Dana, thanks for sharing.
ReplyDelete