

Good morning friends! Are you ready for a cooler state of mind today? Here in East TN it's blazin' hot and sticky humid to boot, so I'm DEFINITELY ready for something cooler! hehe.
Today the OSAT design team are bringing you a Christmas In July!
Demonstrators have begun doing pre-orders for the upcoming (and OH SO EXCITING) 2021 Holiday Catalog and this hop is going to feature Holiday themed products in our projects. YAY for sneak peeks!!! Just remember that these items won't be available for customers to purchase until August 3rd. But we can still have a terrific time checking them out and getting our wish lists together, can't we?
Today the OSAT design team are bringing you a Christmas In July!
Demonstrators have begun doing pre-orders for the upcoming (and OH SO EXCITING) 2021 Holiday Catalog and this hop is going to feature Holiday themed products in our projects. YAY for sneak peeks!!! Just remember that these items won't be available for customers to purchase until August 3rd. But we can still have a terrific time checking them out and getting our wish lists together, can't we?
My projects feature the absolutely stinkin' ADORABLE Penguin Place Stamp & Punch Bundle! Get ready for this one friends! It's too cute for words!

Isn't it cute? :-D I haven't had much time to really play with it yet, but right away I noticed that the set includes things for holiday, all occasion, and birthday! YAY! I love a multi-use stamp set! And the punch is a Penguin Builder that punches out that little forward facing penguin and his feet!
My projects not only feature the Penguin Place Stamp & Punch Bundle, but they also include the SUPER CUTE Penguin Playmates 12"x12" Designer Series Paper. The terrific thing about the paper (aside from how cute it is) is that it's a FREE Sale-a-bration item with a $50 purchase during the next upcoming Sale-a-bration (August 3 - September 30)!!! FREEEEEE!!! And so darn cute!
Golly, let me get to the details of the projects already! hehe.
My card is a Misty Moonlight card base, with some of that fun DSP for a background. I fussy cut the sweet polar bear friend and the scarf for my little penguin. The penguin is also from the DSP, but the punch lines up and cuts it perfectly.
My card is a Misty Moonlight card base, with some of that fun DSP for a background. I fussy cut the sweet polar bear friend and the scarf for my little penguin. The penguin is also from the DSP, but the punch lines up and cuts it perfectly.
I used one of the labels from the Many Messages set, and that fun Be Cool. Be Chill. Be Merry sentiment from the Penguin Place stamp set.

If you can see the sequins clearly enough, they're a brand new item too! A whole container of silver, white, and iridescent sequins in two sizes for each color!
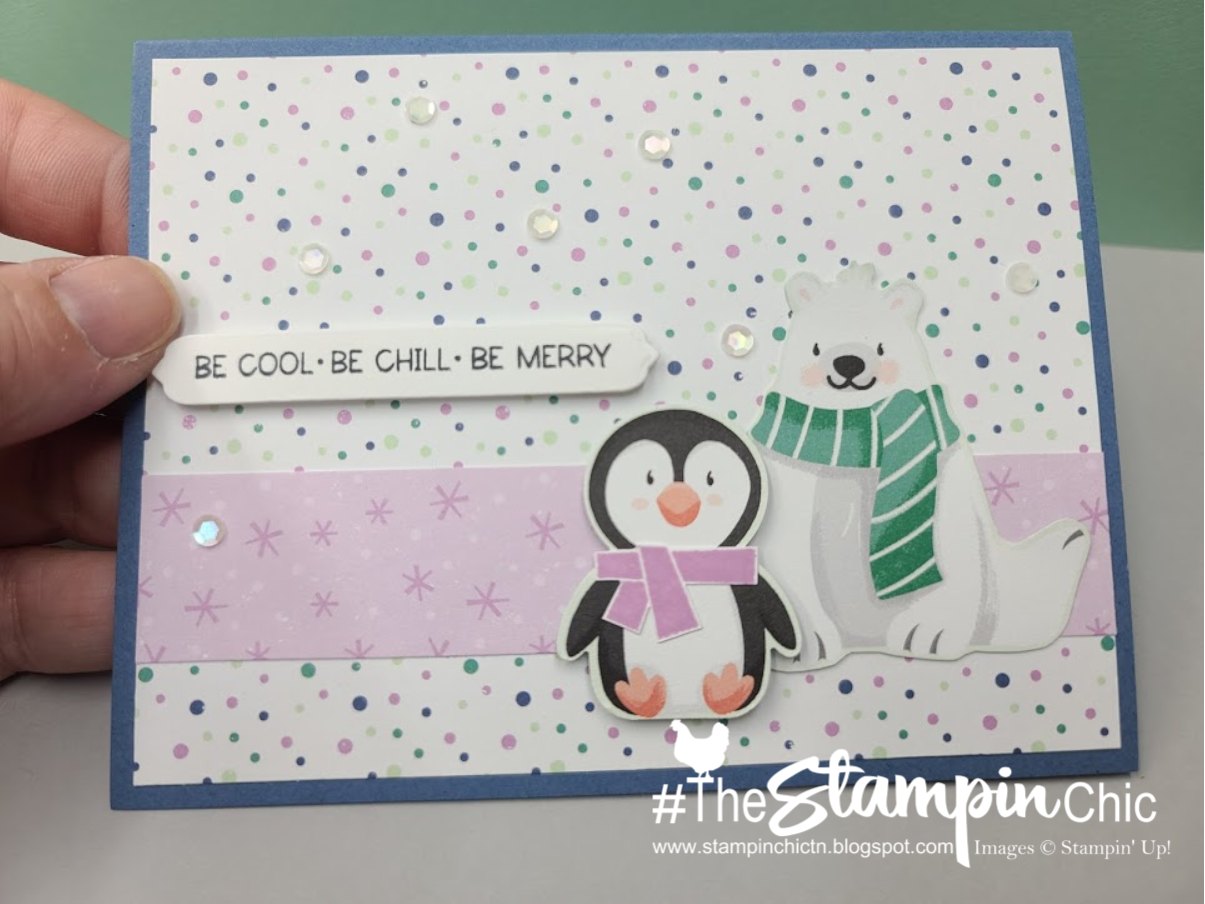
This is going to make a very sweet Christmas card!

On to my coordinating gift bag!
This bag started out as one of the Ombre Gift Bags from the 2021 Annual Catalog. The bags are actually little flat bags, but I modified this one to make it feel like it has more room. I stamped the front of a Fresh Freesia bag with the little snow cluster stamp in the set.

The way to change the Ombre Gift Bags from flat bags to free standing, is to score them on the bottom and both sides at 1/2". Then burnish the lines backwards and forwards so that you can push them out to create actual sides.

Because of the bag's original shape, you'll have to "fix" the little points on the bottom. It's a very simple fix and the result looks clean and neat.

I simply added a bit of liquid glue to the points and then folded them to the bottom and held til they were attached.

I created a cute little gift tag by making a banner from a 2" x 4" piece of the DSP, and then layered another piece of the DSP (1" x 3") onto it. I used the smaller Hippo Friends Label Die to stamp Season's Greetings and to attach my sweet little penguin. Both were attached to the tag with dimensionals.
That Black checked ribbon is (you guessed it) another sneak peek! Won't it look terrific on Black & White Christmas projects? Or Spooky Halloween ones?! EEEEEEK!!! I can't wait to play with the Halloween stuff! hehe.
That Black checked ribbon is (you guessed it) another sneak peek! Won't it look terrific on Black & White Christmas projects? Or Spooky Halloween ones?! EEEEEEK!!! I can't wait to play with the Halloween stuff! hehe.
As you can see, I also used some sequins on my little tag too. Then, I attached the completed tag to the bag with Stampin' Dimensionals.

Thanks so much for stopping by today! I really appreciate you and hope you enjoyed my projects!
Click the "NEXT" button below to visit Miss Mindy's blog and be sure to visit all the blogs listed beneath that to see all the beautiful projects created for you!

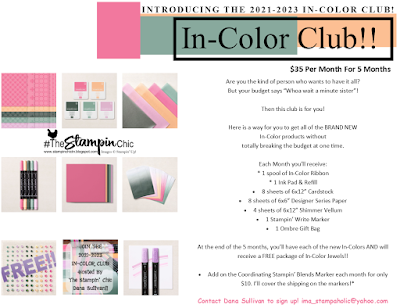
Do you just LOVE the new In-Colors and want to have them all? Join my In-Color Club and get a fantastic selection of products featuring the new In-Colors, at a price that doesn't make your pocketbook scream! Now you CAN get all the things!! PLUS, get a set of the new In-Color Jewels FOR FREE!! To get all the details and to sign up, click the image below. :-)
To receive the upcoming 2021 Holiday Catalog, click the image here to go to the request form!

Until Next Time,
Happy Crafting!
#TheStampinChic
Happy Crafting!
#TheStampinChic
If you would like to purchase any of the supplies I used on today's project, simply click an image below to be taken directly to my website. Enjoy!


