Good evening my crafty friends! How are you today? It's time to do a Paper Pumpkin Alternative blog hop!! YAYAYA!! I really enjoy creating fun and unique alternative projects with my monthly kit. It's a great way to stretch out my creative legs be starting with some pre-determined supplies.
This month's kit "From The North Pole" includes supplies to make TWELVE fabulous Gift Tags for your Christmas packages. They're absolutely adorable!!
The supplies can be used for all sorts of other projects too! That's what this hop is about; sharing fun alternative ideas. I hope you like mine!
One of my favorite things to do with a Paper Pumpkin kit, is to create something different than the kit's project. So, if the project is cards, I like to make "other things". Since this month's kit is tags, I thought I'd show you how you can use the kit to create this beautiful card instead. With just a few extra supplies you probably already have lying around your craft room, you can easily replicate my card.
I just love embossing! Heat embossing, dry embossing, any embossing...... Doesn't matter. I love em all! For my card, I started out heat embossing with White Emboss Powder on a piece of 3 3/4" x 5" Crumb Cake Cardstock.
I wanted to use a bit of Gold Foil between cardstock layers, but I treat that stuff like it's real gold! I wanna get every bit use out of it I can. One of the best ways to do that, is to die cut out of the center and save for something else later. By the time I put the Crumb Cake layer over top of it, you'd never know the middle was missing!
My Gold Foil piece is 3 7/8" x 5 1/8" and then the Cherry Cobbler layer is 4" x 5 1/4".
Once I had all three pieces layered together, I wrapped a length of Natural Ribbon around it and tied into a knot (slipping a small piece of gold ribbon in the middle of the knot before I tied it tight). Then, I tied a Linen Thread bow around the knot. What a super cute way of making a bow on this card! Do you love it? My sweet friend Amy taught me that trick! I LOVE IT!!! :-)
I used the Layering Circles and Stylish Shapes Dies to cut the medallion. The layers are adhered together and then attached to the card with Stampin' Dimensionals. The finishing touch to the card was adding a few Rhinestone Basic Jewels to bling it up a bit! :-D
I hope you enjoyed my card project! You'll find lots of amazing alternatives along the hop! Enjoy!!
Click the NEXT button below to head over to Miss Deb's Blog. You'll find tons of inspiration there! Be sure to hop all the way around so you don't miss any of the Paper Pumpkin Alternative projects.
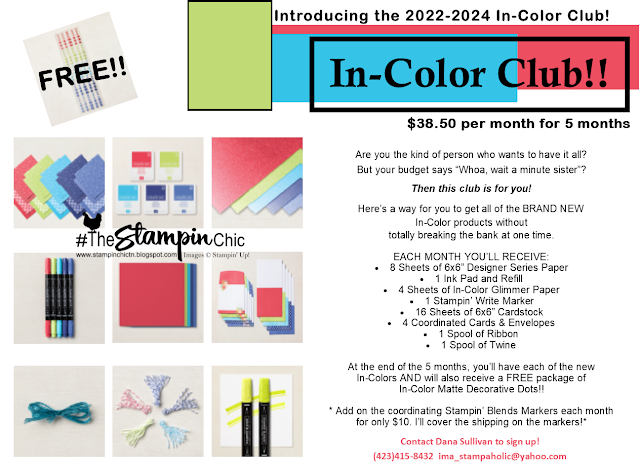
Have you seen the new GORGEOUS 2022-2024 In-Colors? Join my In-Color Club and get a fantastic selection of products featuring the new In-Colors, at a price that doesn't make your pocketbook scream! Now you CAN get all the things!! PLUS, get a set of the new In-Color Matte Dots FOR FREE!! To sign up, click the image below. :-)
To receive the 2023 Spring Mini Catalog (Idea Book),
click the image here to go to the request form!
Until Next Time,
Happy Crafting!
#TheStampinChic
If you would like to purchase any of the supplies I used on today's project, simply click an image below to be taken directly to my website. Enjoy!
Product List