

Good evening my crafty friends!! Are you ready for some Paper Pumpkin Alternatives? You know I am!
It's time to hop along with the Paper Pumpkin Possibilities Design Team to share some fabulous ways for you to stretch the value of your June 2024 "Life Is Sweet" kit.


The kit features some super ADORABLE painted fruit designs with Lemons, Peaches, and Cherries. It's also a testiment to the fact that the new In-Colors work so well together, because they're included in the colors that make up this bright and fun collection!

Stampin' Up shared a behind the scenes look at how the images were made. It was really neat! Check it out:
Wasn't that fun? Ok, let's get to my alternative project shall we?

I created a card with a Thick Basic White Card Base (8 1/2" x 5 1/2", scored @ 4 1/4"). Then I added a 5 3/8" x 4 1/8" Pool Party layer to the front. But not before I took full use of all that background real estate that would be covered up with the front panel!!

Who would ever know that the whole background of this card was die cut out?? No one, that's who! lol. I'll save those bits for another project! It's a terrific way to make the most of your products. :-)
That's a LOT of goodies that I was able to collect! You may wonder where these die cuts come from. I'm glad you asked! :-D They're part of a Paper Pumpkin "ADD-ON" opportunity.

The "THANKS AND BEYOND DIES" (Item #164397 $12.00 usd) give a nice little boost to the kit and make more opportunity for creativity!
I took one of the printed card bases from the kit and cut a 4"x5 1/4" panel off one side. I used this piece for the front layer of my card. I'll save the rest of the printed base for future projects. :-D


The greenery die cut piece came from the kit as is. I borrowed a couple of lemons, a few of the adhesive backed pearls and some linen thread to finish up my card. That super neat stitched label is popped up on Stampin' Dimensionals and the bow attached with a glue dot. The lemons are simply glued directly to the base and the card was finished off with the pearls. I really like how it turned out!

Cutting the kit's card bases into two card fronts is a quick way to double the number of cards you can get out of it. And, it's pretty fun too!
Be sure to visit the other designer's blogs below to see the various alternative projects we have in store for you!
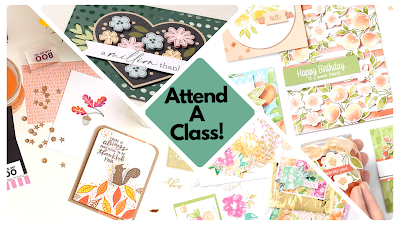
Check out my upcoming classes (and classes TO GO), over on my
Facebook Calendar of Events. Registration details can be found under each class description. Join us for some crafty fun!
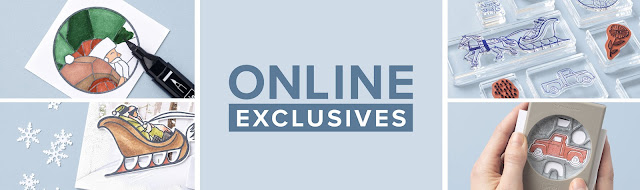
What you see in the catalog isn't all the amazing products Stampin' Up offers! Click the image below to be taken to our Online Exclusive collection. There's even more fun awaiting you there!

Until Next Time,
Happy Crafting!
#TheStampinChic
Happy Crafting!
#TheStampinChic
If you would like to purchase any of the supplies I used on today's project, simply click an image below to be taken directly to my website. Enjoy!


")
 Designer Series Paper")


