Wednesday, July 31, 2024

Paper Pumpkin Possibilities Painted Petals


Hello my crafty friends! It's time for some Paper Pumpkin Possibilities!!!  Yayaya!!!  I absolutely LOVE seeing what fun alternative projects I can create using the current month Paper Pumpkin kit.  And, the designers of the Paper Pumpkin Possibilities Blog Hop do too!!  

That's right my friends! Today you get a fabulous collection of alternative projects featuring the July Painted Petals Paper Pumpkin kit! It's time for the PPP designer's Blog Hop!!


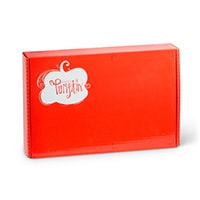
Isn't that box just gorgeous?!  That's a little hint at just how beautiful this month's kit is.  Truly, truly stunning!

And, let's not forget about the add-on Every Celebration dies (item #164991).  For only $12 you can get this set of dies that coordinate with the July Painted Petals kit, the August Time For Cake kit, and the September Autumn Abundance kit!!! WHOA!!!  That's pretty awesome!!

Funny story about these dies.......  I had ordered them and stuck em in a tray on my desk a couple weeks ago.  I'm thinkin' i'm ready for July's kit to get here, right?  Well, when it came time to play with my kit, I completely forgot about the dies and I fussy cut that flower!!!  UGH!!!  Don't be like Dana.  Get the dies and USE THEM! lol.  I'm working on additional alternatives and can you believe that the flower is SO MUCH EASIER to cut with the dies?????  HAHAHAHA!!  Here's your reminder to get them and USE THEM! 

You're welcome! ;-) 


For my alternative project today, I brought in the Spotlight On Nature Dies.  These circle frames are absolutely GORGEOUS and coordinate beautifully with this stunning kit. This circle is 3 1/4". I love the different borders on the dies! There's a wonderful variety within the sizes!


Outside of the kit, you'll need: 
* 8 1/2" x 5 1/2" THICK Basic White Cardstock (scored in half at 4 1/4")
* 3 1/2" x 3 1/2" Basic White to die cut the 3 1/4" circle
* 5 1/4" x 1/2" Basic White for the strip near the bottom of the card
* Scraps of Basic White Cardstock to stamp and cut two of the flowers from the kit (AND DIES!! HA!)
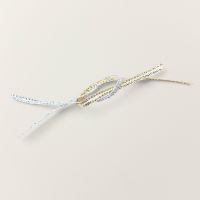
* 1/8" Gold Trim from the Gold/Silver Trim Combo Pack

Everything else, came from the kit itself.  

I cut one of the Melon Mambo card bases apart and used the back side for the front panel of this card. I cut a 1/4" strip of the long side and used that strip to decorate the inside of my card. Then I cut a 1/4" strip off the short side to make the panel 5 1/4" x 4".  

After attaching the 1/2" white strip to the panel, I attached it to the card front. 

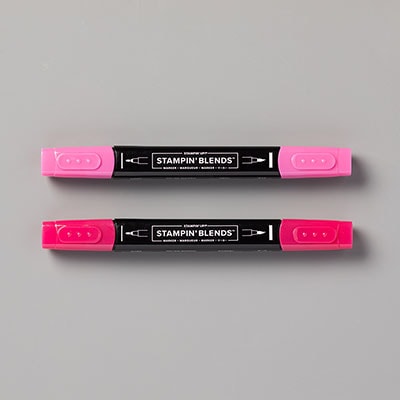
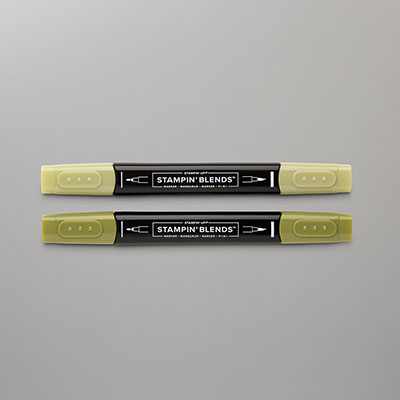
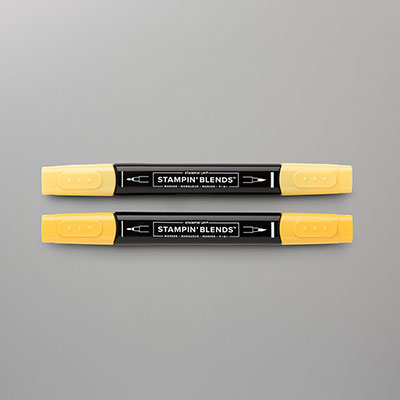
I stamped and colored two sets of flowers in Memento Ink and Melon Mambo & Old Olive Stampin' Blends Markers.  Use the dies, people! lol.  If you don't have the dies, or REALLY don't wanna get em, you can totally fussy cut them. But I'm tellin' ya, you WANT the dies!!  

I stuck one of the flowers directly onto the die cut circle, and attached the other with glue on the stem and dimensionals behind the flowers.  Attaching it this way allows me to adhere my label over top without having to add even more dimension than I already did. It's a genius way of creating a look with flowers that really helps cut the bulk of your card. 

The Circle is attached to the card front with Stampin' Dimensionals. 

I tied a big loop bow with the Gold Trim and attached it next to the circle with a glue dot. I love those things for bows!!!

As you can see from the photos, I stamped that little diagonal lines strip on one of the Melon Mambo labels from the kit. That, and the sentimens on the front label and the inside were stamped in the Gray Granite ink that came with the kit.  Both the label strip and the sentiment strip were attached with dimensionals to the card front.  

The finishing step was adding a few of those pretty little adhesive sequins from the kit. 

I really like how the card turned out!  And, I can't wait to show you my other alternative projects! Stay tuned!!


Look at all the alternative projects you get to explore now!  Each of the designers here have created a wonderful masterpiece for you to check out.  Be sure to hop all the way around so you don't miss a single one!


Check out my upcoming classes (and classes TO GO), over on my
Facebook Calendar of Events. Registration details can be found under each class description.  Join us for some crafty fun!


What you see in the catalog isn't all the amazing products Stampin' Up offers! Click the image below to be taken to our Online Exclusive collection.  There's even more fun awaiting you there!


Until Next Time,
Happy Crafting!
#TheStampinChic

If you would like to purchase any of the supplies I used on today's project, simply click an image below to be taken directly to my website. Enjoy!

Product List

Monday, July 15, 2024

Country Woods & Lace Birdhouse Gift Box


Hello my crafty friends!! How are you all today? I have a very special project to share with you!  This beautiful little birdhouse gift box was created during last week's "THINK TANK THURSDAY" live.  

What is Think Tank Thursday, you ask?  I'm so glad you did! Lemme tell you about it.  Every Thursday evening at 7pm eastern time I go LIVE on Facebook and Youtube to design a project on the fly with viewers as my co-pilot! Yes, friends who are watching get to help decide the elements of the project from colors to images to sentiments and more. That's why this box is so special!  It was created by me and some of my fabulous viewers!  We have a great time, just enoying the process and it's really fun. 

Okie doke, so here's how it goes....... 

First off, you'll need to cut and score TWO pieces of cardstock acccording to the image here: 


Notice that I mentioned the need to use a scoreboard shim to score the lid.  This is because the shim will bump the score just a scoche (yes that's a word), so that when assembled the two sections will slide together PERFECTLY!!  

I've got a video that shows how to make these boxes easily.  It shows the shim and how to use it also. You can check it out here: 


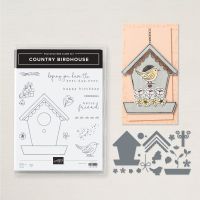
So now that you've got the base made, let's move on to the decorations!  I used the Country Birdhouse Stamp & Die Bundle, along with the Country Woods and Country Lace Designer Series Papers. 

Cut these pieces from Country LACE: 
* 2 7/8" x 3 5/8" for top
* (cut 2) 3 5/8" x 7/8" for sides
* (cut 2) 2 7/8" x 7/8" for ends

Attach these pieces to their corresponding parts on the box lid. 

Using Country Woods DSP, Stamp the Birdhouse in Early Espresso ink and die cut. 

Take the little roof and eaves dies from the bundle and cut the scalloped trim from Petal Pink Cardstock, the narrow eave from Basic Beige and the roof piece from Misty Moonlight.   

I glued the beige eave directly to the pink scalloped piece, and glued that directly to the birdhouse.  I attached the roof with Stampin' Dimensionals. 

Then, I cut a piece of Early Espresso Cardstock with the birdhouse landing die.  One of my viewers had a terrific idea to crumple it up for texture. It was brilliant!  So you can see, that's what we did here.  Look at how terrific that is!  I smoothed it out just enough to put some Dimensionals behind it and attach it to the birdhouse. 

That's my most FAVORITE thing about Think Tank Thursdays!!! Yes, we're "hanging out" for quite a bit longer than a typical LIVE tutorial session.  But that's because it's NOT a tutorial session.  We are quite literally a "THINK TANK" for designing a project together.  It's so much fun to be able to interact with viewers, and see their inputs and ideas.  And, together, we create beautiful masterpieces like this one!  LOVE LOVE LOVE!!!!

From the photos you can see that I used Petal Pink, Misty Moonlight, and Wild Wheat Cardstocks to create the flowers and leaves.  All of these dies are included in the Country Birdhouse Bundle! Isn't that fabulous?

I attached the flowers by gluing the farthest ones directly and then popping up the more foreward ones with one and two layers of Dimensionals.  I tucked the leaves in with a touch of Multipurpose Liquid Glue. 

That cute little bird is colored with Misty Moonlight and Daffodil Delight Stampin' Blends Markers. Then, die cut with one of the dies from the bundle. :-) 

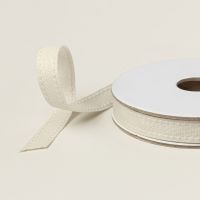
I wrapped a good length of the Beige Ribbon around the body of the box and tied it into a bow. Then, I attached the birdhouse with Dimensionals, sandwiching the ribbon so it wouldn't slide off. 

The final touch is adding a few Iridescent Foil Gems to the center of the flowers.  

OOOOOOOH so pretty!!!!

Well, there you go my friends! A super ADORABLE gift box that anyone would be thrilled to receive!  I hope you've enjoyed my little tutorial and will give this project a go. :-D 


Check out my upcoming classes (and classes TO GO), over on my
Facebook Calendar of Events. Registration details can be found under each class description.  Join us for some crafty fun!


What you see in the catalog isn't all the amazing products Stampin' Up offers! Click the image below to be taken to our Online Exclusive collection.  There's even more fun awaiting you there!


Until Next Time,
Happy Crafting!
#TheStampinChic

If you would like to purchase any of the supplies I used on today's project, simply click an image below to be taken directly to my website. Enjoy!
Product List